
REVIEW · TICKETS
Bali: Upside Down World Admission Ticket
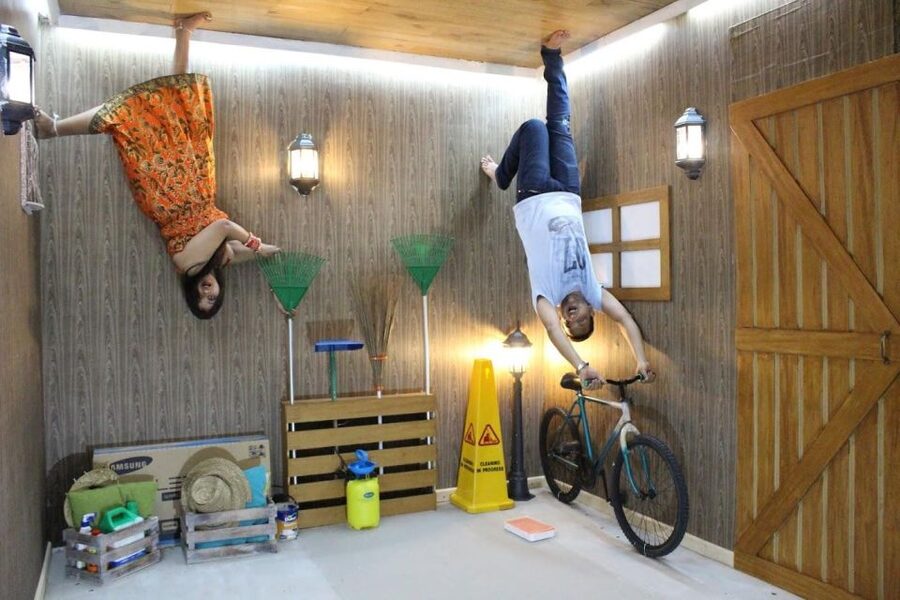
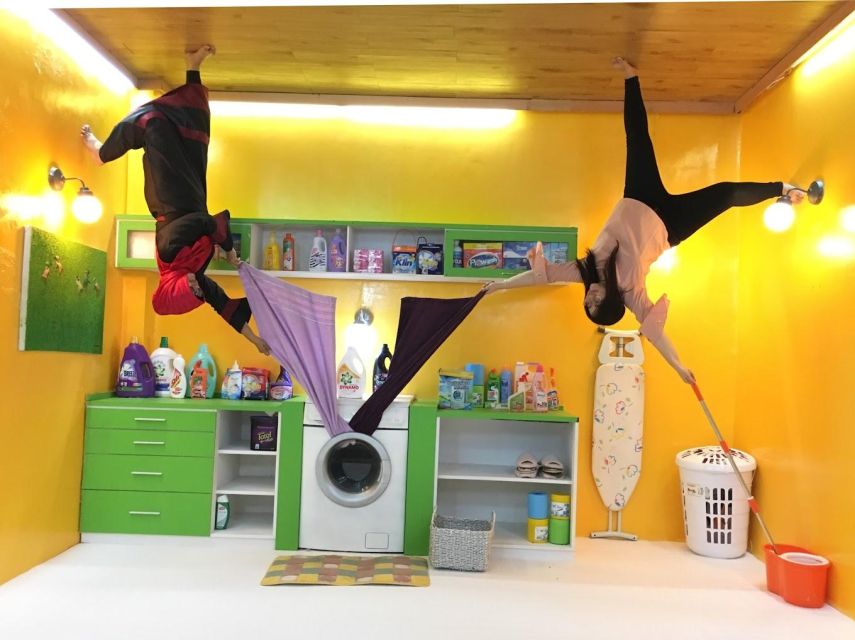
Gravity takes a day off here. Bali’s Upside Down World flips your expectations with rooms built to look normal, until gravity tells a different story, and your photos become the proof. Upside-down rooms and optical-illusion sets make it an easy, low-effort way to get interesting pictures in Bali.
I especially like the photo assistance. The staff is there to help you stage shots, so you spend less time guessing angles and more time enjoying the fun. Six themed rooms also give the visit real variety instead of being one gimmick repeated.
One thing to consider is that cleanliness and condition can be hit or miss. A few past visitors described rooms as old, dirty, or not well kept, and the attraction can feel small or out of the way depending on what you compare it to.
In This Review
- Quick hits before you go
- Ticket value: $6 for three hours of photo-first fun
- Checking in at the counter with your booking name
- Audio guide and staff photo help
- Walking into the upside-down world: what you actually do
- Room by room: six themed sets and how to get the most out of each
- Upside bedroom and inverted living rooms: the illusion sweet spots
- Ceiling-bed staging: how to pose so it looks effortless
- Upside Down Cafe: a good cooldown at the end
- Cleanliness, age, and size: set expectations before you go
- Who should book the Bali Upside Down World ticket
- How to plan your 3-hour visit in Bali
- Should you book this Bali Upside Down World ticket?
Quick hits before you go
- 3 hours of upside-down photo rooms: A timed visit that works well as a short Bali activity.
- Six themed spaces: Expect multiple set changes, not just one photo spot.
- Staff help for photos: They can guide you so your pictures look like the room is really turning the laws of physics.
- English audio guide included: Helpful if you like a bit of context while you wander.
- Upside Down Cafe at the end: A place to slow down, even though food and drinks cost extra.
- Bring your camera: You will want it for ceiling-bed and inverted-room moments.
Ticket value: $6 for three hours of photo-first fun
At about $6 per person, this is the kind of activity that can fit almost any Bali schedule without wrecking your budget. The main value is not the length, it is the format: multiple themed rooms built specifically so you can interact with the illusion and take photos quickly.
You should also think about value in terms of how it changes your day. If you are already planning photos, paying a small ticket fee to make those photos more memorable is a smart trade. If you are not big on photos and you hate “photo attractions,” then you may feel like the experience is shorter than you hoped, even though it lasts about 3 hours.
Checking in at the counter with your booking name
This is straightforward. When you arrive, go to the counter and say your booking name. That is how you get sorted and start moving through the attraction.
If you are the type who likes to be ready on arrival, do this: keep your booking name handy and bring a camera that is charged. The attraction is photo-driven, so once you are inside, you will want to start immediately rather than doing last-minute setup.
Audio guide and staff photo help
Two parts here make the experience easier for most people: English audio guidance and human help.
The audio guide is included in English, which matters because upside-down rooms can feel confusing at first. Even if you do not rely on it heavily, it gives you something to listen to while you follow the flow of the space.
Then there is the staff. The attraction specifically encourages you to use their help for photos, and you can get assistance to take pictures. This is a big deal in real life. A lot of “fun photo places” fail because you are left to figure out poses alone. Here, the setup is more like a friendly photo booth experience spread across multiple rooms.
Walking into the upside-down world: what you actually do
You enter and the attraction sets the illusion right away. Rooms look normal from certain angles, then the “up” and “down” switch through clever design. Your job is simple: explore, pose, and keep moving so the illusion has a chance to work from different perspectives.
You should plan on a slow-to-medium pace. At first, you will want to check the room setup. Then you will do the practical part: stage a shot, correct your pose, and do another. That is usually how you get the best results in these spaces.
Also, expect plenty of time spent just figuring out how to stand so it looks like you are floating, falling, or clinging to the ceiling. The fun is in the moment-to-moment adjustments.
Room by room: six themed sets and how to get the most out of each
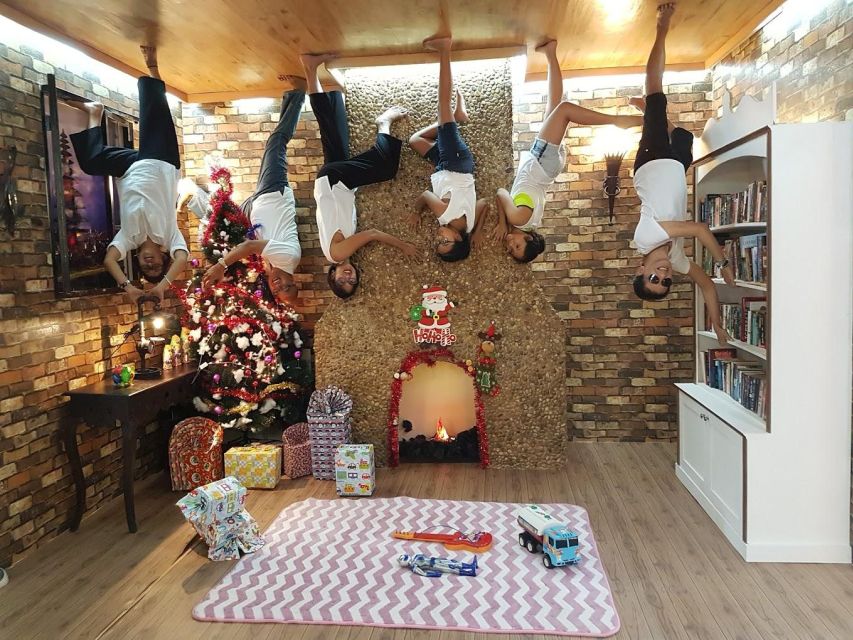
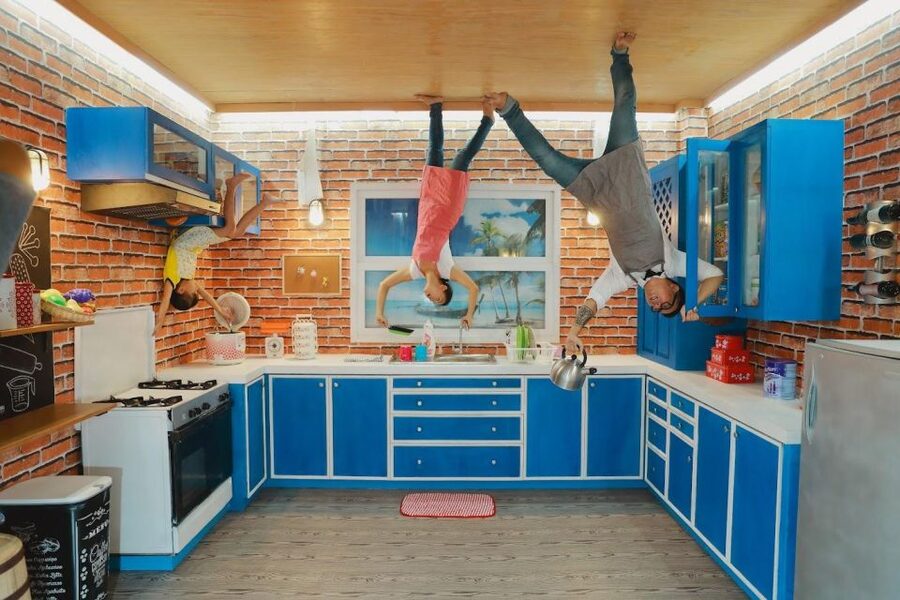
The attraction is built around six meticulously designed rooms, with different themes and photo setups. The visit is not meant to be one long corridor walk. Each room changes the angle of the illusion, which is why you will want to spend real time in every stop instead of rushing.
Here is how I would approach the rooms in a practical way:
- Start with a wide shot mindset. Before you pose, take one photo that captures the whole setup. This helps you see how the room wants to be photographed.
- Then go for the “hand placement” shot. Upside-down illusion photos often look best when your hands or body position match the visual line the room creates.
- Finally, do a close-up. A close shot helps if you want a souvenir photo where the illusion is clear even without the full room.
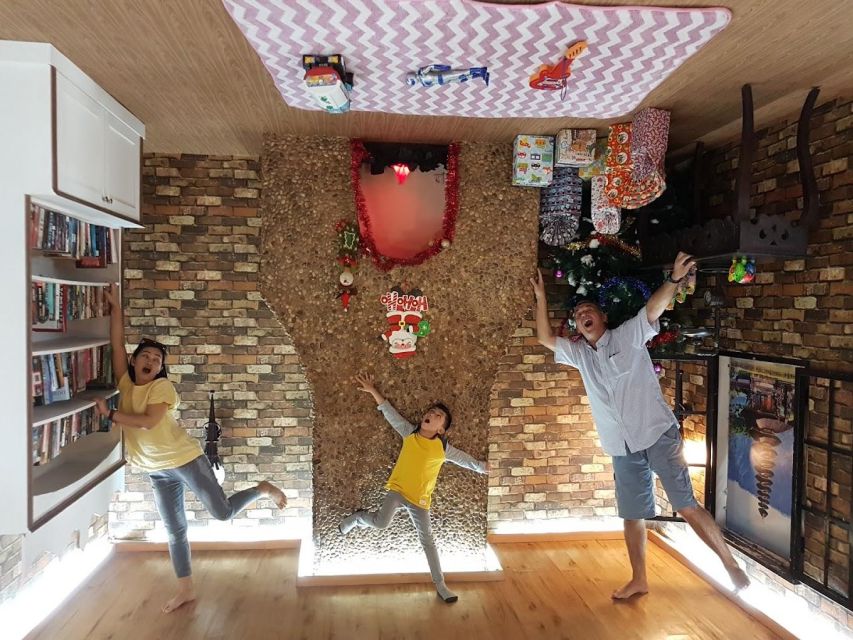
Some of the described themes include anti-gravity style bedroom moments and inverted living-room setups. Even if your favorite part is just the ceiling-based staging, moving room to room is what keeps the experience feeling different across the full three hours.
Upside bedroom and inverted living rooms: the illusion sweet spots
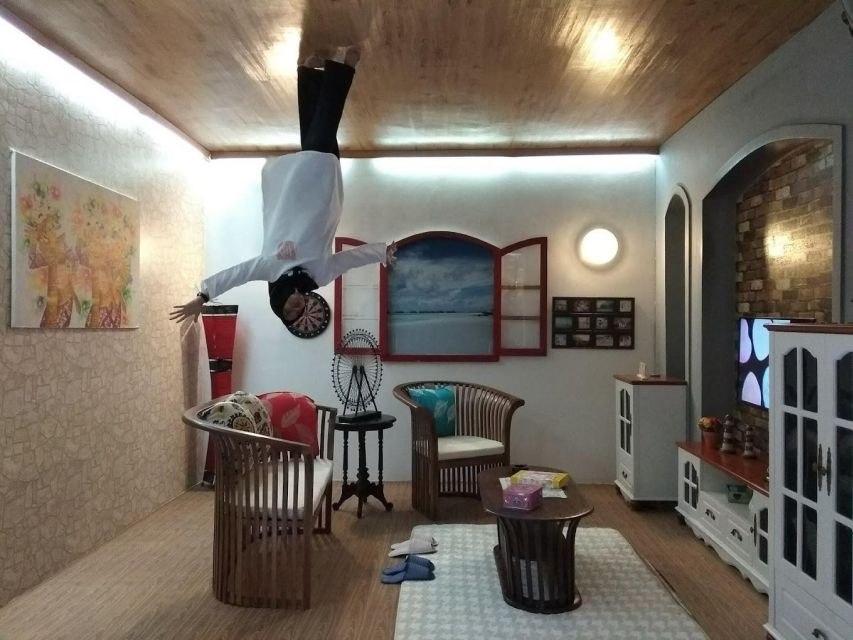
Among the themed areas, the upside-down bedroom and inverted living-room scenes are where the experience becomes visually satisfying fast. These types of rooms are usually designed to make you look like you are lying on the ceiling, or that the furniture is stuck to the wrong surface.
If you want your photos to look believable, use the furniture and props as your guide. The illusion works because your body is placed relative to objects that also look “wrong” in the photo. So instead of just twisting your own pose, pay attention to the room’s built-in reference points.
A practical tip: take at least one photo right after the staff shows you a basic pose. Then you can repeat it with minor changes, like shifting your stance or bending a little at the knees. Small changes can turn a confusing picture into one that looks like gravity has truly switched.
Ceiling-bed staging: how to pose so it looks effortless
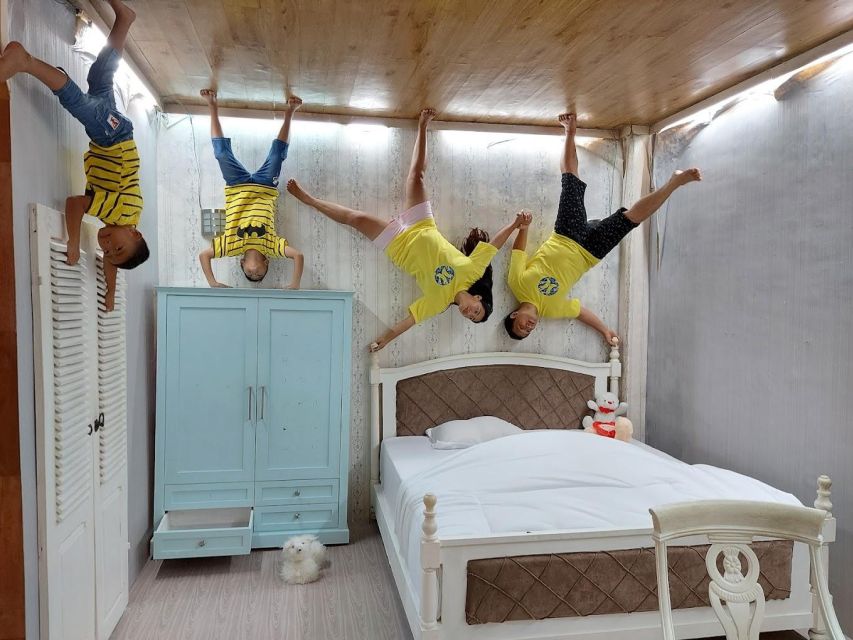
One of the most mentioned interactive moments involves floating on ceiling beds and other gravity-defying posing setups. This is where most people either get great results or feel a bit awkward, because the body position is not natural.
Here is a simple posing checklist you can follow without overthinking:
- Keep your camera angle steady, and adjust your body rather than moving the phone wildly.
- Try one pose where your face is angled toward the “floor,” then another where you look down toward the viewer.
- Do one shot where your hands are clearly visible, like you are bracing on something.
Because the staff is available to help take photos, use that time. Ask for a quick pointer on where to stand, how to position your feet, or how to frame the ceiling. Then you will be free to take your own sequence afterward.
Upside Down Cafe: a good cooldown at the end
After the last rooms, you end at the Upside Down Cafe. It is a chance to come down from the photo sprint and actually sit for a bit. The decor stays upside-down, so it still feels part of the theme, but the pressure shifts from posing to relaxing.
Food and drinks are not included in the ticket, so think of this as a place to recharge, not a free meal stop. If you want a full Bali afternoon, this is a natural place to pause before heading to your next activity.
Cleanliness, age, and size: set expectations before you go
I think this is the honest part that will shape whether you love it or feel disappointed.
Some past visitors described the rooms as old-fashioned, very small, and not clean. Others mentioned hygiene as less than ideal. That does not mean every room will feel that way, and it does not mean you should never go, but it does mean you should adjust expectations.
What this means for you:
- If you are very sensitive to cleanliness, bring a level head and maybe simple hygiene habits like keeping wipes handy.
- If you hate rundown-looking interiors, you might find the experience smaller than the price suggests and compare it to higher-maintenance attractions you have seen elsewhere.
- If you focus on the illusion and the photos, the ticket can still feel like a good bargain.
A balanced approach is key. This is not marketed as a museum-quality experience. It is a photo-first, room-by-room gimmick playground, and in that category, the entertainment can be worth it even if the surfaces are not perfect.
Who should book the Bali Upside Down World ticket
This works best for you if:
- You want an easy, budget-friendly Bali activity that can fit into a short window.
- You enjoy interactive photo spots and are happy to take multiple shots.
- You like attractions that have staff guidance so you are not left alone figuring out poses.
It might not be the best choice if:
- You are picky about cleanliness and want spotless, brand-new interiors.
- You prefer attractions with lots of walking distance, big exhibits, or a “see it all in one day” feeling.
- You dislike places that revolve around posing and staged shots.
If you are traveling with families, you may especially like it because the concept is simple and fun for different ages. And because the staff helps with photos, kids and adults alike usually get something usable out of the experience.
How to plan your 3-hour visit in Bali
The ticket is timed for about 3 hours, which is ideal for building a day around it. I would treat it as a main activity block, not a quick stop.
A realistic rhythm looks like this:
- Arrive, check in at the counter, and start with the first room while you still have energy.
- Spend extra time in the room types that give the clearest upside-down results, like ceiling-bed setups.
- Use the staff help early so you learn the pose mechanics, then reuse the same ideas across the later rooms.
- Finish at the Cafe to cool down, then head to your next plan.
Also, keep in mind that some feedback described the location as out of the way. That can change how long your total trip feels. If you are using rides or public transport, give yourself buffer time.
Should you book this Bali Upside Down World ticket?
Book it if you want a low-cost, three-hour photo experience with upside-down rooms and real staff support. The price-to-fun ratio is hard to beat, and the combination of six themed rooms plus staff photo help makes it easier than many self-guided gimmicks.
Skip it or at least think twice if cleanliness and upkeep are deal-breakers for you, or if you want a large, museum-sized attraction. Some visitors have felt the place is small and not well kept, so your expectations should match the vibe.
If you are the kind of traveler who likes practical fun, takes photos, and can accept that it is a themed photo set rather than a five-star interior, this ticket is likely a good use of your time in Bali.
Tickets, compared.
 ★ 4.4Ubud Palace Legong Dance Show TicketFrom $63,979 reviews
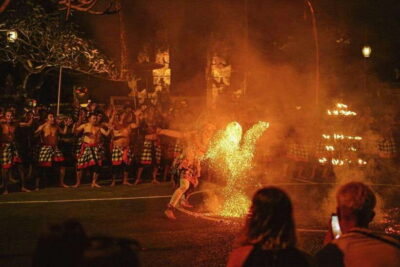 ★ 4.4Ubud Kecak and Fire Dance Show TicketsFrom $62,631 reviews
 ★ 4.5Waterbom Bali Tickets – Single Day PassFrom $33620 reviews
 ★ 5.0Uluwatu Temple Entry and Kecak Fire Dance TicketFrom $29479 reviews
 ★ 4.2Tanah Lot Temple Sunset Kecak & Fire Dance Show TicketFrom $6242 reviews
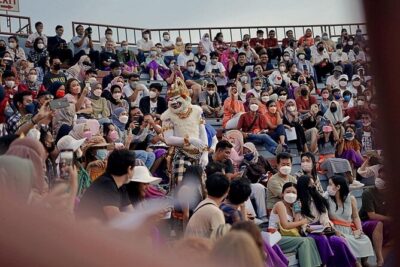 ★ 4.0Kecak and Fire Dance Ticket at Uluwatu TempleFrom $11222 reviews
 ★ 4.5Bali Bird Park Admission TicketFrom $18202 reviews
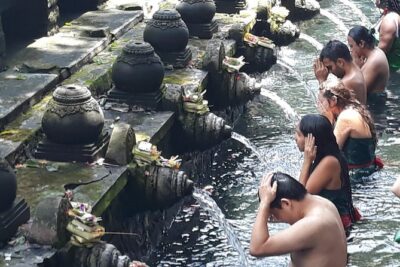 ★ 5.0Skip the Line Tirta Empul Temple Entrance Ticket All InclusiveFrom $29198 reviews