
REVIEW · BALI SILVER, BATIK AND CRAFT CLASSES
Celuk Bali Silver Class: Hands-On Silver Making Class
Silver-making is calm, creative, and quick. I like the one-on-one feel with helpful artisans such as Cita, Andika, Omang, and Suela, and I like that you take home a real piece you made yourself from up to 5 grams of silver. The main thing to watch is the silver limit, because extra weight can trigger an 85,000 IDR per gram fee.
In Celuk, a short trip from Ubud, this is the kind of hands-on Bali activity that many people miss because it is not a big ticket show. Expect a guided workshop where you shape, mold, and polish until your jewelry looks wearable, not just handmade.
The class is about 1.5 to 3 hours, with snacks, mineral water, and free Wi-Fi thrown in so you can keep your plans moving.
In This Review
- Key things I’d watch before you go
- Celuk Silver Class starts in a real silversmith neighborhood
- What you do first: set your design and get ready to work
- Your silver allotment: up to 5 grams for one take-home piece
- Choosing what to make: rings, earrings, and pendants
- The hands-on steps: shaping, molding, and polishing
- Snacks, water, and Wi-Fi keep the day easy
- The personal touch: unique jewelry that reflects your style
- Price and value: why $45.87 can be fair here
- Costs you should plan for: extra silver, gemstones, and no sharing
- Logistics that affect your day: timing and how to get there
- Who should book this silver class, and who might skip it
- Should you book the Celuk Bali Silver Class?
- FAQ
- How long does the Celuk Bali Silver Class take?
- How much silver will I get to make my jewelry?
- Can I make more than one piece in the class?
- Are snacks and water included?
- Is free Wi-Fi included?
- Does the price include shuttle or transportation?
Key things I’d watch before you go
- Celuk silversmithing street setting: a working area near Ubud, not a craft mall
- Up to 5 grams of silver: one personalized piece per person, with clear weight rules
- Guidance that actually helps: artisans like Cita, Andika, Omang, and Suela can keep you on track
- Comfort basics included: snacks, mineral water, and free Wi-Fi during the session
- Extra costs to plan for: over 5 grams and gemstones add fees, and silver sharing is not allowed
More benches to sit at and make something
Celuk Silver Class starts in a real silversmith neighborhood
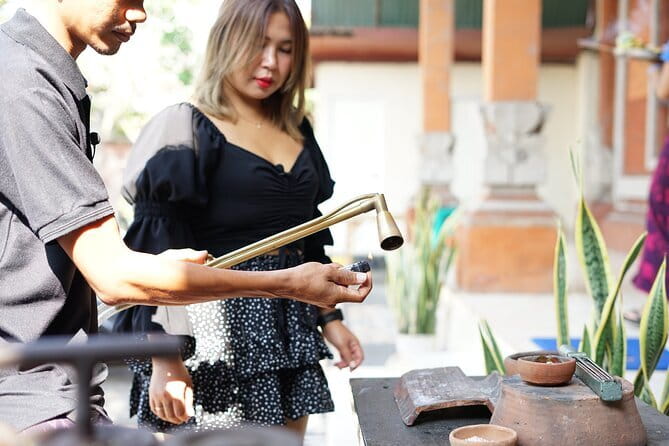
Celuk is famous for silver work, and that matters. Instead of watching from a distance, you are in the same kind of environment where locals make jewelry for everyday life and business.
The meeting point is straightforward: about 400 meters east of the Barong Statue on Jl. Raya Celuk, Desa Celuk, Kec. Sukawati, Kabupaten Gianyar, Bali 80582. The class ends back at the same spot, so you are not dealing with a long route after your hands are full of tools and silver polish.
Your group is capped at a maximum of 20 people. That is big enough to feel social, but small enough that you should still get attention when you need it.
What you do first: set your design and get ready to work
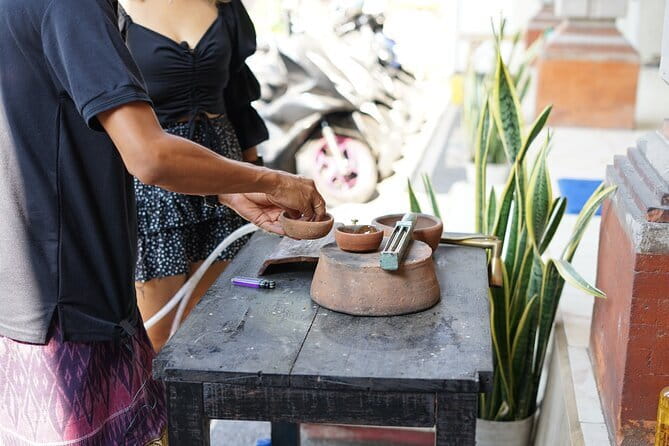
Once you arrive, the vibe is practical. You get the tools and materials you need, plus you are guided through the steps so you do not have to figure out silver processes alone.
You will start creating your piece from scratch, and the work runs through the full cycle. That includes shaping and molding the metal, then polishing and finishing so your final jewelry looks like something you would actually wear.
This is also where the rules become real for your planning. You can make only one silver jewelry piece per participant, and you cannot share silver with another person. If you are traveling as a couple and want to collaborate on one design, you will need to reconsider.
Your silver allotment: up to 5 grams for one take-home piece
The biggest “value math” in this class is the silver weight limit. You get access to a maximum amount of silver to work with, and your take-home piece starts from 1 to 5 grams depending on your design. The final weight depends on what you choose to make and how it turns out.
Here is the part you should not ignore: if your finished jewelry uses less than 5 grams, the usage may still be accounted for as 5 grams. That means you should not think of this as a “cheap base” that you can stretch or cut down lightly. The class is still worth it, but your best strategy is designing with the expected weight in mind.
Your final piece is yours. You are not making a sample to leave behind. You go from planning to polishing and then you leave holding the wearable result.
Choosing what to make: rings, earrings, and pendants
The class experience is flexible in the design sense. You can make items like a delicate pendant, a ring, or a pair of elegant earrings, depending on what the class supports and what you want to try.
That flexibility is great because it matches how people actually buy souvenirs. Some folks want something small they can wear immediately. Others want a ring that feels special and personal. Either way, you are not stuck with a single cookie-cutter design.
In the time you have, a ring or pendant often feels the most straightforward. Earrings can also work well, but you will want to lean into the guidance so the sizing stays even and the finishing looks consistent on both sides.
- Uluwatu Sunset, Kecak Dance, and Dinner Jimbaran Beach★ 5.0 · 3,681 reviews
- Tanah Lot and North Bali Tour: Scenic Journey★ 5.0 · 3,620 reviews
- Body Massage Experience in Ubud Traditional Spa★ 5.0 · 3,506 reviews
- Best of Bali Waterfalls: Tibumana, Tukad Cepung and Tegenungan★ 5.0 · 3,047 reviews
- Bali: Ubud Kecak and Fire Dance Show Tickets★ 4.4 · 2,631 reviews
The hands-on steps: shaping, molding, and polishing
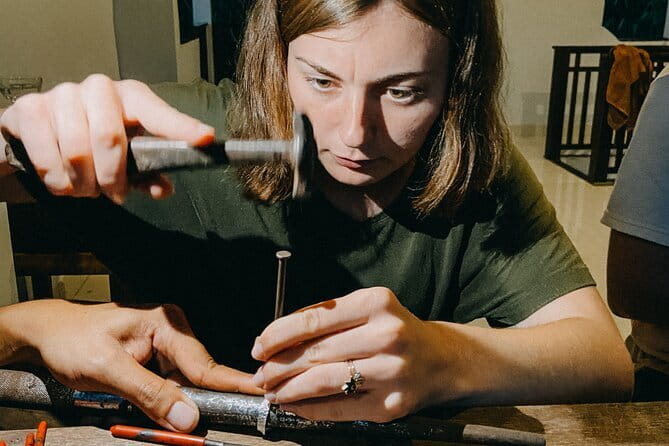
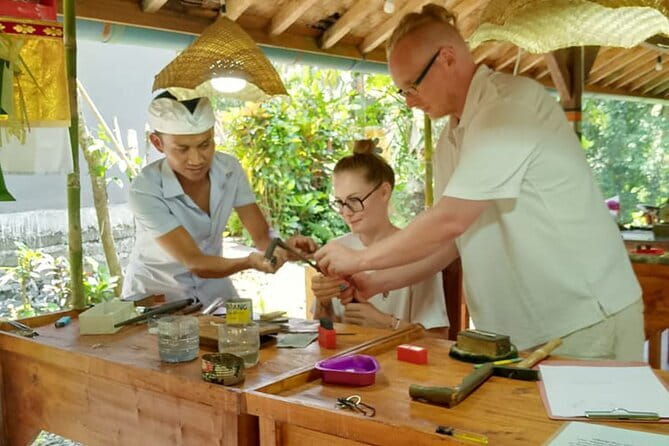
This is not a “look, watch, leave” workshop. You are physically making the piece, with instruction to help you do the technical parts.
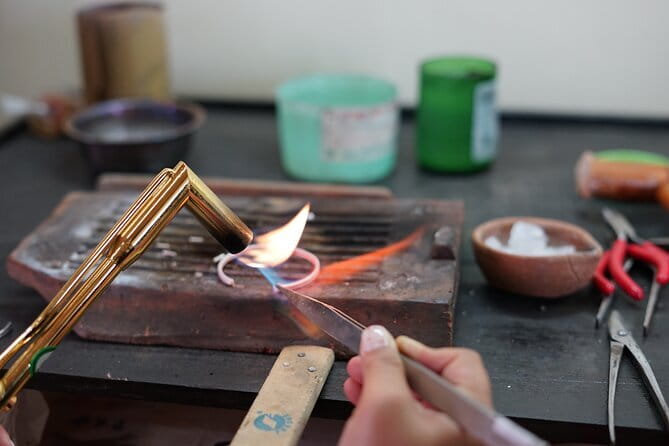
You will go through shaping and molding the metal into your chosen jewelry form. That might sound abstract, but in practice it becomes a series of doable actions: take a clean start, form your shape, keep your design aligned, and then work on details as you go.
Then comes finishing, polishing, and the final touch that makes the difference between craft and jewelry. Polishing is where your piece starts looking like it belongs in a jewelry box instead of on a workbench.
One practical plus, based on how the class runs: even if your first attempt feels awkward, you still get a guided process that helps you build confidence quickly. In a past rainy day session, people also reported not feeling rushed, which is a good sign for the pacing.
Snacks, water, and Wi-Fi keep the day easy
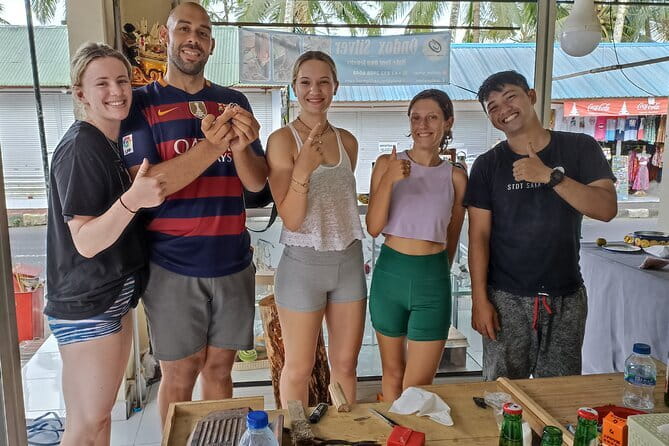
This class includes complimentary snacks and mineral water. It is a small thing, but it changes the whole experience. Silver work takes focus, and it helps to keep energy steady while your hands are busy.
Free Wi-Fi is also included, which is useful if you are scheduling the rest of your Bali day. You can message your driver, check on dinner plans, or keep your photos organized while your piece is in progress.
The class duration is listed as 1.5 to 3 hours, with most sessions feeling efficient once you get going. If you like to keep your schedule moving during your Ubud trip, this fits better than a half-day workshop.
The personal touch: unique jewelry that reflects your style
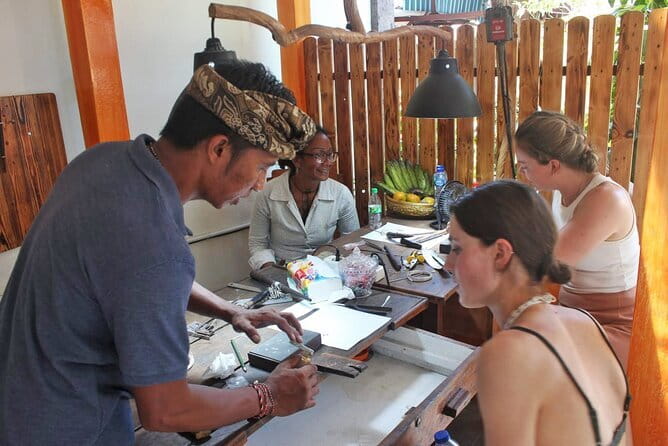
The selling point is not just that you make silver. It is that the design is yours, which is why the souvenirs feel worth it.
You are guided through steps that you would struggle to do alone. Even if you are crafty, working with silver involves details and finishing that are hard to learn from random tutorials.
You also get to express your creative side. That is where the class stops feeling like “a lesson” and starts feeling like “a project.” You choose what the jewelry looks like, and then you build it with an artisan’s help.
If you are traveling with family, this can be a strong activity because you are creating something they can understand and show off. One memorable experience involved a mother and her daughters making unique rings with friendly guidance.
Price and value: why $45.87 can be fair here
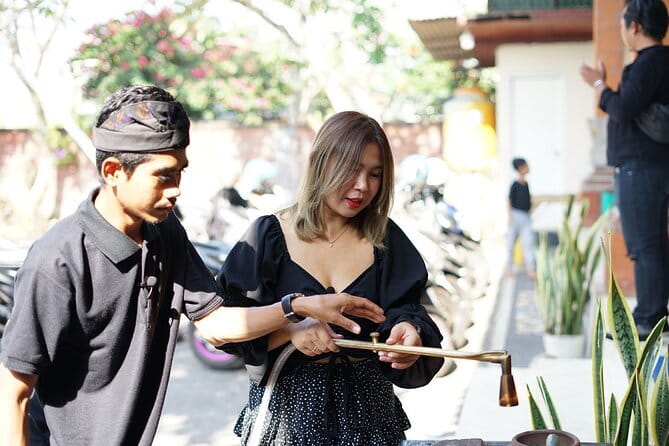
The price is $45.87 per person. On paper, that is only a moderate cost, but the value depends on what is included and what is not.
Included in your cost:
- all necessary materials and tools
- snack and mineral water
- free Wi-Fi
- a take-home silver jewelry piece made from 1 to 5 grams
- class time that runs about 1.5 to 3 hours
- one jewelry piece per participant, designed by you
Not included:
- over-weight silver fees beyond the allowed limit
- gemstone charges if you want them (from 100K IDR to 500K IDR depending on type and size)
- shuttle or transport to the meeting point
So when is it a good deal? It tends to be a good deal if you want a genuine handmade silver souvenir and you value the instruction. If you are only looking for a quick photo and a tiny token, you might find cheaper shopping.
Also, you should price out the add-ons mentally. Extra silver is 85,000 IDR per gram if you go beyond the 5 gram limit, and gemstones can add another 100K to 500K IDR. If you want a simple design and avoid gemstones, your total stays closer to the base class price. If you want big, gem-heavy bling, you should expect the final cost to rise.
Costs you should plan for: extra silver, gemstones, and no sharing
The class is clear about limits, and that clarity is good for your budget.
First, there is a hard silver limit. Over the limit means an 85,000 IDR per gram additional fee. Second, you cannot share silver with another person. That rule keeps the process fair and also means you should plan designs individually.
Gemstones are optional, but they are not free. Expect an extra charge based on the gemstone type and size, listed from 100K IDR to 500K IDR. If you want sparkle, decide early so you can spend your time designing instead of renegotiating at the end.
One more budgeting detail: the rules say usage is still accounted for as 5 grams even if your jewelry ends up below that amount. So do not assume you can make a super tiny piece and pay less on silver weight.
Logistics that affect your day: timing and how to get there
This experience is in Celuk, with the meeting point near Barong Statue. The address is specific and easy to follow once you plug it into a map app.
It is noted as near public transportation, which is useful if you are not using a private driver. Also, the class does not include shuttle service, so if you are staying farther from Celuk, you will want to plan your ride.
For timing, aim to arrive with enough buffer. You want time to check in, settle down, and get ready to work. If you show up rushed, polishing and finishing can feel more stressful than it needs to be.
Who should book this silver class, and who might skip it
You should book Celuk Bali Silver Class if you want:
- a hands-on Bali experience that is different from temples and beaches
- a wearable souvenir you can actually use
- guided instruction so you are not fighting technique alone
- an activity that works well even on a rainy day
It may not be your best match if:
- you want to make multiple pieces in one session
- you plan to go big on gemstones or exceed the silver weight limit
- you are mainly shopping for something quick and inexpensive rather than a guided craft project
Also, if you love getting out of Ubud’s center, this workshop gives you a local focus without demanding a full day.
Should you book the Celuk Bali Silver Class?
Yes, if you want a meaningful, practical Bali souvenir and you like the idea of learning something you can use again someday. The standout value is the mix of hands-on guidance, the chance to design your own piece, and the fact that you leave with a finished item from up to 5 grams of silver.
I would recommend booking if you are willing to design within the limits and keep your gemstone choices intentional. If you want heavy customization that pushes weight or includes pricey stones, pencil in the extras so the final total feels comfortable.
Finally, consider it a great “reset activity” during your trip. It gives your day a creative rhythm, you get snacks and water, and you walk away with something personal, not just another photo.
FAQ
How long does the Celuk Bali Silver Class take?
The class lasts about 1.5 to 3 hours.
How much silver will I get to make my jewelry?
You can work with a maximum of 5 grams of silver. Your final piece will be based on 1 to 5 grams depending on your design.
Can I make more than one piece in the class?
No. Each participant can make only one silver jewelry piece.
Are snacks and water included?
Yes. Complimentary snacks and mineral water are included.
Is free Wi-Fi included?
Yes. Free Wi-Fi is included.
Does the price include shuttle or transportation?
No. Shuttle service is not included.
Make Something: Silver, Batik, Clay
Fresh Ubud write-ups from the review desk





Bali Silver, Batik and Craft Classes, compared.
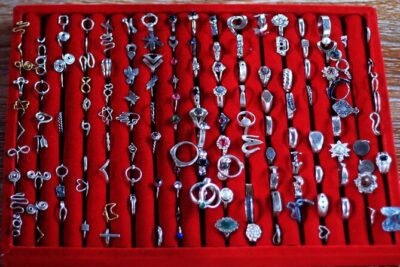 ★ 5.0Ubud Silver Class Jewelry making in baliFrom $36978 reviews
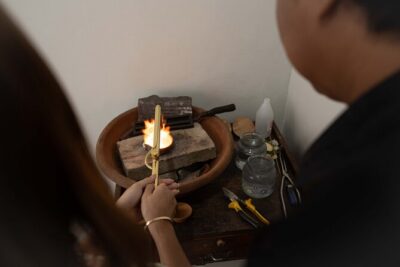 ★ 5.0Ubud Monkey Forest Silver Class – Craft Your Own Silver JewelryFrom $41254 reviews
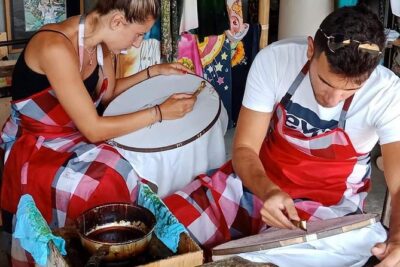 ★ 5.0Crafting Heritage Batik Painting WorkshopsFrom $29164 reviews
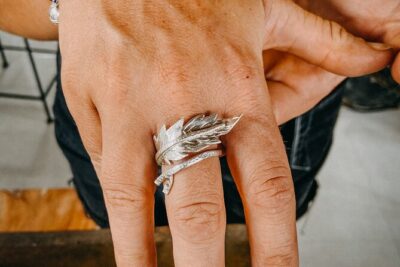 ★ 5.0Ubud Bali Silver Jewelry ClassFrom $50163 reviews
 ★ 5.0Ondox Silver Class and jewelry UBUDFrom $30132 reviews
 ★ 5.0Batik Master Class with Full ProcessFrom $19103 reviews
 ★ 5.0Private Traditional Bali Silver Jewelry Making ClassFrom $4874 reviews
 ★ 5.0Kuta Bali Silver Jewelry Making Class Near Kuta BeachFrom $4557 reviews
Browse the lists this tour appears in