
REVIEW · 2-DAY EXPERIENCES
Private 2 Days and 1 Night Summit in Mount Rinjan
Sunrise on Rinjani is earned, not given. This private 2 days and 1 night summit trek from Sembalun has you camping high on the crater rim, then pushing for a dawn payoff. I especially like how the team handles the hard logistics and how the hike is designed around the sunrise timing.
What I like most is the human support built into the plan. In real time, the guide and porters are part of your pace, your safety briefing, and even small comfort wins like being willing to help with gear needs.
The one drawback is simple: this is physically demanding, and you start the summit attempt around 2:30 am or 3:00 am. Expect a challenging climb, cold air at the top, and a few extra costs because the entrance fee is not included.
In This Review
- Key Highlights You’ll Care About
- Why Sembalun Works So Well for a 2D1N Summit
- Day 1: Sembalun Up to the Crater Rim Camp at Around 2,639 m
- What to watch for on day one
- Day 2: The 2:30 am Wake-Up and the Summit Sunrise Push
- The big payoff, and the real trade-off
- Guide and Porter Care: The Difference Between Hard and Unsafe
- What You Get Included, What Costs Extra, and What That Means
- Value check
- Packing and Fitness: The Practical Reality of a Summit Attempt
- Fitness tip that saves you
- Who This Private Rinjani Summit Trek Is Best For
- Should You Book This 2D1N Mount Rinjani Summit Trek?
- FAQ
- What time do we start the summit trek?
- How high does the trek go?
- What is included in the price?
- What entrance fees do I need to pay?
- Do I need my own trekking shoes and clothing?
- How fit do I need to be?
Key Highlights You’ll Care About
- Private group experience so your pace is yours, not a crowd’s
- Crater rim camping at roughly 2,639 m, with sunset views built in
- 2:30 am wake-up and headlamp summit push for sunrise from high on Rinjani
- Guide and porter support including safety talk the night before in many cases (for example, guide Ir, with help from boss Ialu)
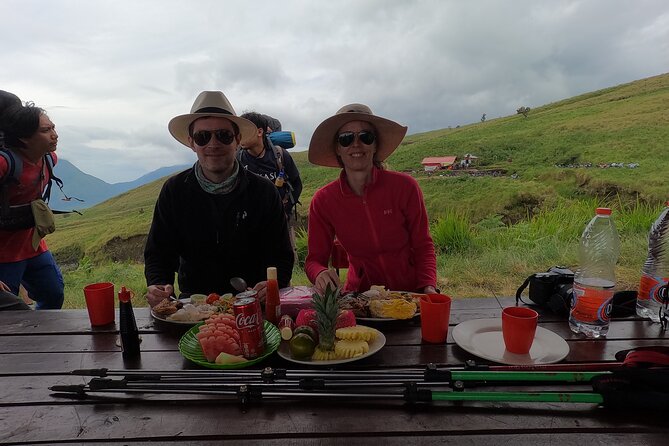
- Camping comfort you might not expect like tents, sleeping bags, camp chairs, and even a toilet tent
- Gear included for the trail such as trekking poles and a head lamp
Not decided yet? These Lombok trips held up when we went through them.


Why Sembalun Works So Well for a 2D1N Summit
Starting from Sembalun puts you at about 1,100 to 1,150 m right away, which matters because it gives your body less to fight on day one. The route then works upward in a way that feels staged: you climb to the crater rim, spend the night, then go again for the summit at night hours.
You also get a route that includes a meadow crossing and a steady climb over multiple high hills. That matters because the hardest part of Rinjani is not just the height, it is the repeated effort. Even if you consider yourself a capable hiker, you should plan for legs that feel it on day two.
Finally, this trek is private, so the experience leans more toward a guided rhythm and less toward moving with strangers. If you like a clearer sense of who is watching your safety and who is carrying the heavy camp items, this setup tends to deliver.
Day 1: Sembalun Up to the Crater Rim Camp at Around 2,639 m
Your day begins with breakfast and then a transfer toward Sembalun village. Meeting time is listed as 7:30 am, and the start point is Senaru or Bayan in North Lombok. After you’re in position, you hike up toward Pelawangan Sembalun, often described at about 2,639 m, with a prolonged steep climb.
This first day is about more than just altitude. You are training your pacing for the next push. The climb to the rim is where you learn how your breathing handles steady uphill effort, and it is also where you see the terrain open up in a way that makes the summit goal feel real.
Once you arrive at the crater rim, you camp overnight. The plan is set up so you can enjoy views at sunset from the rim area. Practically, camping here also gives you something important for day two: a night already at high elevation, which helps you avoid starting the summit from much lower down.
What to watch for on day one
You cross open areas and can feel heat during exposed sections. Even if you’re excited about the sunrise on day two, don’t go hard on day one. A controlled pace on day one usually pays off more than hero mode.
Day 2: The 2:30 am Wake-Up and the Summit Sunrise Push
Day two starts very early. You wake around 2:30 am for a light breakfast, then begin the summit trek at about 3:00 am. With a headlamp and trekking poles and sticks included, the plan is built around moving efficiently in low light.
The summit section is described with a strong emphasis on stamina. Expect a long, uphill grind where you’re climbing into cold conditions at higher altitude. One of the most repeated themes in the feedback you were given is that the summit is challenging, but the guidance and support make it far more manageable. Guide Ir, for example, is noted as friendly, experienced, and supportive, adjusting to a hikers pace.
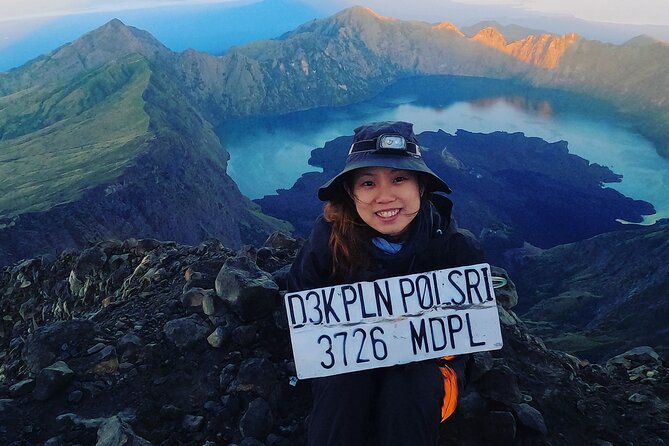
As for the exact height, the plan cites the summit around 3,672 m to 3,726 m. Either way, you should think of this as the true top end of the trek, not a warm-up. The goal is to reach the summit area in time for sunrise.
After sunrise and photos, you still have to get back down. This itinerary is set for a full day (around 12 hours total on day two), so plan for tired legs and time for the descent back toward Sembalun.
- Tetebatu Walking Tour – Rice Terraces, Waterfall & Monkey Forest★ 5.0 · 349 reviews
- Day Trip 5 Secret Gilis : Layar, Rengit, Nanggu, Tangkong, Kedis★ 5.0 · 192 reviews
- 2D1N Senaru Crater Rim Trekking★ 5.0 · 178 reviews
- Explore Komodo and Swim with Whale Sharks★ 5.0 · 138 reviews
- Lombok Pink Beach Boat Trip (Full Day + Snorkeling)★ 5.0 · 104 reviews
The big payoff, and the real trade-off
The payoff is sunrise at altitude, with the feeling that you actually earned the view. The trade-off is your body is under stress twice: first by the early start, then by the final climb. If you hate waking up before dawn, this trek will feel like punishment, at least at minute 1.
Guide and Porter Care: The Difference Between Hard and Unsafe
On a summit trek, “good organization” is not a luxury. It is what keeps you from wasting energy and what helps you feel confident when things get tough.
In the feedback you provided, the best moments often connect to people, not just scenery. Many notes credit the crew for being calm, professional, and involved in safety. Boss Ialu is mentioned as personally involved in logistics and doing a safety briefing the night before. Guide Ir is repeatedly described as supportive and experienced, including help like lending a backpack to make things easier.
Porters are a huge part of why this trek feels doable. They carry camping equipment, which is a big deal because your job becomes walking, not hauling a loaded pack. When the porters are hardworking and the team is organized, you conserve strength for the summit push.
If you’re the kind of hiker who worries about pacing, altitude, and comfort, I like that the plan includes a guide plus porter support built right into the structure. It tends to mean you are not guessing alone.
What You Get Included, What Costs Extra, and What That Means
At $195 per person, you are paying for more than just a guide to walk alongside you. Your included items cover the stuff that usually adds cost and hassle on trekking trips.
Included highlights:
- Meals: breakfast, lunch (2), dinner, and drinks
- Safe drinking water
- Camping equipment: double-size tent, camp chairs, toilet tent, sleeping bags, pillows, and mattress
- Trekking gear support: headlamp, trekking poles and sticks
- Porter support for camping equipment
- Insurance
- Guide support plus breakfast and dinner included in the package
Not included costs you should plan for:
- Entrance fee: listed as Rp 200k/day/person, with an IDR600,000 per person figure shown for the activity
- Tips for porters and guide
- Trekking shoes, long pants, gloves
- Travel insurance
- Small day pack for personal items
Value check
If you price this out mentally, the inclusion of tents, sleeping bags, a toilet tent, and even the trekking poles and headlamp pushes this toward real value, especially if you do not already own quality gear. The biggest surprise for budget planning is the entrance fee plus the tip expectation.
Also note that this tour is often booked about 59 days in advance on average. If you want a better chance at your preferred dates, starting your booking around that timeframe is a smart move.
Packing and Fitness: The Practical Reality of a Summit Attempt
This is not a walk in the park, even though it is only 2 days and 1 night. Your plan involves camping near 2,639 m and then climbing to around 3,700 m in the early hours. That means your fitness needs to be strong enough for repeated uphill effort, a long day of walking, and an early wake-up.
You’ll want to bring:
- Trekking shoes (required but not included)
- Long pants and gloves (listed as not included)
- A small bag or day pack for personal items
- Warm layers for cold conditions at the top, since freezing conditions are specifically mentioned in the feedback you provided
What you can rely on from the trip:
- Headlamp
- Trekking poles and sticks
- Sleeping setup with sleeping bag plus mattress and pillow
- Camp chairs and a toilet tent for nighttime basics
Fitness tip that saves you
Your biggest enemy is not just steep ground, it is going out too fast. Start conservatively on day one. When you reach the crater rim and camp, you are already setting up how your legs will perform for that 2:30 am wake-up.
If you want a simple standard: you should be comfortable with strenuous hiking and long hours on your feet.
Who This Private Rinjani Summit Trek Is Best For
This trek is a good match if you:
- Want a private group format rather than joining a large mixed group
- Like having a guide and porters who take care of logistics and camp setup
- Are motivated by sunrise and willing to start very early
- Are comfortable with a strenuous, multi-hour summit day
It is less ideal if you:
- Struggle with early mornings
- Are not used to high altitude hikes or long uphill days
- Expect a casual walk with short effort
Because the itinerary includes a steep climb to the crater rim and then a summit push in the dark, you should choose this only if you can commit to the physical challenge.
Should You Book This 2D1N Mount Rinjani Summit Trek?
I think this is worth booking if you want the Rinjani summit experience with a strong emphasis on organization, real guide support, and practical camp comfort. The best part for most people is the way the team takes weight off your shoulders, including camping gear handled by porters, plus included sleeping and basic camp setup.
Book it if you plan to take the summit seriously and show up with the right footwear and warm layers. Price-wise, $195 makes sense when you compare what is covered: meals, camp gear, trekking poles, headlamps, and guide plus porter support. Just budget for the entrance fee and tips.
Skip it if you want a relaxed trek, or if you cannot handle very early starts and a cold summit. And one more reality check: it is non-refundable and cannot be changed for any reason, so choose your dates carefully.
FAQ
What time do we start the summit trek?
You wake up around 2:30 am for a light breakfast, then start heading to the summit at about 3:00 am.
How high does the trek go?
You start around 1,100 to 1,150 m in the Sembalun area, reach the crater rim around 2,639 m, and aim for the summit around 3,672 m to 3,726 m.
What is included in the price?
The package includes meals (breakfast, lunch, dinner), safe drinking water, a trekking guide and porter support, camping equipment (tents, sleeping bags, mattress, pillows, camp chairs, toilet tent), headlamp, trekking poles and sticks, insurance, and lunch.
What entrance fees do I need to pay?
Entrance fees are not included. The information provided lists Rp 200k/day/person, with a total IDR600,000 per person figure for the activity.
Do I need my own trekking shoes and clothing?
Yes. Trekking shoes, long pants, and gloves are not included, so you should bring them. A small bag or day pack is also needed for personal items.
How fit do I need to be?
This trek is listed as requiring strong physical fitness. You should be able to handle a steep climb to the crater rim and then a difficult summit push in the early morning hours.
Fresh Lombok write-ups from the review desk
2-Day Experiences, compared.
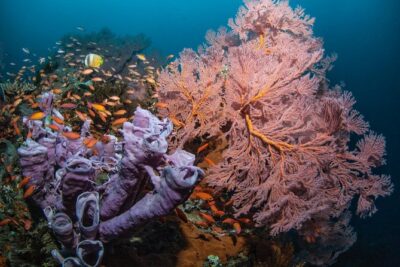 ★ 5.02 Days Discover Scuba Diving in Nusa Lembongan – Scuba InitiationFrom $151506 reviews
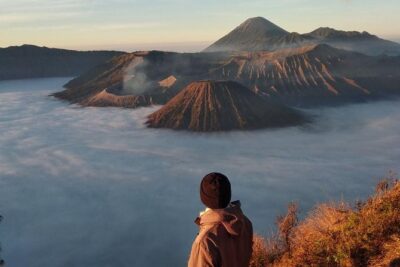 ★ 5.0From Surabaya / Malang : Mt Bromo Sunrise – Ijen Blue Fire 2D1NFrom $333330 reviews
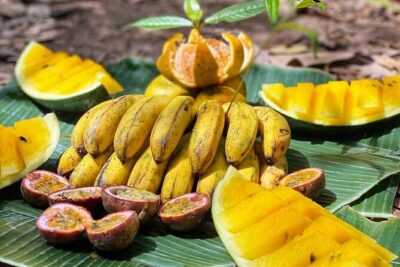 ★ 5.02 Days and 1 Night Ethical Jungle TrekFrom $146229 reviews
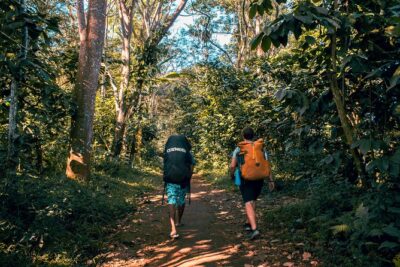 ★ 5.02D1N Senaru Crater Rim TrekkingFrom $156178 reviews
 ★ 5.02 Days 1 Night Ethical Jungle TrekkingFrom $207153 reviews
 ★ 5.02Days – Bromo Sunrise Ijen Adventure via MalangFrom $199152 reviews
 ★ 5.0ORANGUTAN TREK (2D/1N) by EcoTravel Bukit LawangFrom $180122 reviews
 ★ 5.0Monkey Business 2 days – 1 night Jungle Trekking (including rafting)From $144121 reviews
Browse the lists this tour appears in