
REVIEW · LOMBOK AND MOUNT RINJANI ADVENTURES
Hiking Rinjani Volcano To Crater rim Senaru 2 Days, Group – Syam Trekker
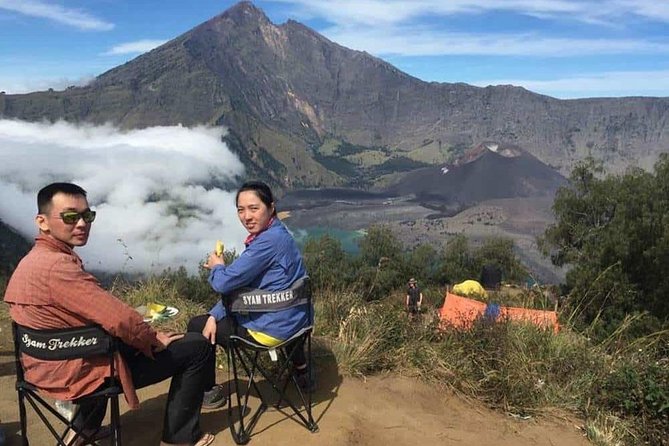
Sunrise over Rinjani is why this hike works. It is a tight 2-day challenge that takes you from the Senaru trail area up to the crater rim, then back down, with an overnight camp so you can catch the light on the peak.
I really like two things here: first, the max 6-person group keeps the pace human, so you can pause, breathe, and not feel rushed. Second, camp setup is handled for you with proper gear, including tents, sleeping bags, and even toilet tents, so your planning stress stays low.
One consideration: this is still a mountain trek, with serious altitude and long hiking blocks, so you should be ready for a steady uphill and then about a 5-hour descent the next day, especially if you are newer to higher elevation hikes.
In This Review
- Quick reasons this 2-day Senaru crater rim trek is popular
- Senaru crater rim: why this 2-day version hits the highlights
- Getting started in Senaru: timing, meeting point, and your first stretch
- Day 1 through tropical forest: posts, breaks, and lunch at 2,000 m
- Sunset on the crater rim at 2,641 m: camp views and real emotions
- Day 2 sunrise, then descent through rainforest to Senaru village
- What’s included in $217: why the value feels practical, not just cheap
- Guides and porters: where the experience gets its character
- Comfort and fitness: how to prep so Day 2 does not hurt
- Weather reality: why the best part depends on conditions
- Who should book this Rinjani crater rim hike
- Should you book with Syam Trekker for the Senaru 2D1N crater rim hike?
- FAQ
- How long is the Rinjani hike from Senaru to the crater rim?
- What is the meeting point and start time for the tour?
- How many people are on the hike?
- What altitude do you reach on Day 1?
- Do you camp overnight?
- What meals and water are included?
- What camping gear is included?
- Is entrance to Mount Rinjani National Park included?
- What happens if weather is bad?
Quick reasons this 2-day Senaru crater rim trek is popular
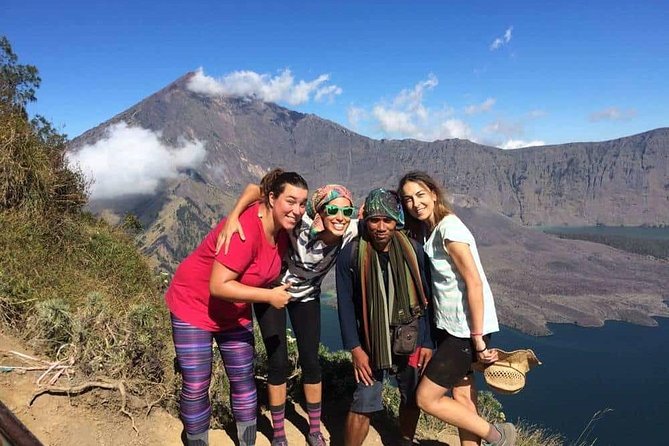
- Small group size (up to 6 hikers) means better pacing and less waiting at photo stops
- Overnight on the crater rim (2,641 m) gives you both sunset views and a morning sunrise
- Guides handle safety and the climb rhythm, including steady support on the ascent and descent
- Meals and water are built in, with 3 meals per day plus snacks, fruit, and 3 liters of mineral water daily
- Camping gear is included, from tents and sleeping bags to toilet tents and a camping chair
- Porters carry the heavy stuff, so you focus on your steps, not your backpack
More walking routes, short and long
Senaru crater rim: why this 2-day version hits the highlights
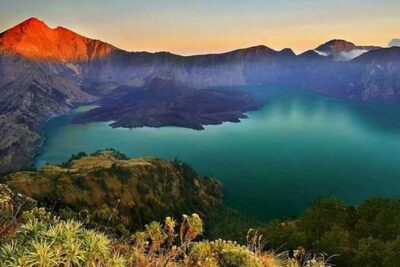
Mount Rinjani is famous for big drama, and this route is designed to give you the most photogenic payoff in a short time. The key moment is reaching the Senaru crater rim at 2,641 m, where the views tend to feel wide and sharp, especially at sunset and around morning light.
What I like about this plan is the pacing strategy. You spend Day 1 moving through forest first, then you transition into crater-rim time without turning the whole hike into a single nonstop grind. The overnight camp is the “why,” because it turns sunrise and sunset into part of the experience rather than something you would have to gamble on with travel timing.
Also, this route is built around atmosphere. You’re up high enough to watch the sky change fast, and you can see distant activity too, including smoke from a newer volcanic area near the lake. That kind of real-world intensity is part of why Rinjani feels alive, not just scenic.
Getting started in Senaru: timing, meeting point, and your first stretch
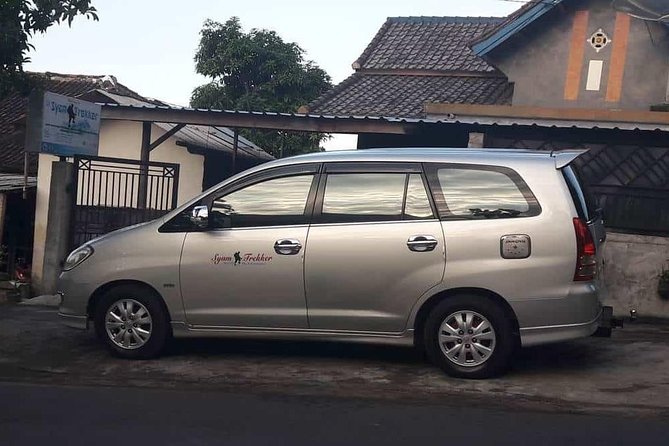
You meet at Syam Trekker’s office in Senaru, at Jl. Pariwisata, Senaru, Kec. Bayan, Kabupaten Lombok Utara, Nusa Tenggara Bar. The start time is listed as 7:00 am, and the hiking typically begins around 08:00 from the Rinjani Trek Center area in Senaru.
This matters because the hike is long enough that early starts help you avoid rushing in the heat. It also gives your body time to find rhythm before the steeper sections later on.
One practical tip: treat the first hour like warm-up work. Dense tropical forest and steady climbs can feel “easy” at first, then your legs suddenly remember you are going up. Start calm, take breaks when your guide suggests them, and conserve energy for the afternoon push toward the rim.
Day 1 through tropical forest: posts, breaks, and lunch at 2,000 m
Day 1 begins with a walk through dense tropical forest, where the trail is alive with birds and butterflies. It is a nice change of scenery from the big-volcano image, because you’re basically hiking through a living ecosystem before you reach the crater zone.
You take an early break at Post 2, Montong SATAS shelter (around 1,500 m). The stop is short but thoughtful, with tea and biscuits, giving you a chance to reset without turning the morning into a long stop-and-go.
Then you continue upward for about two hours to Pos 3, Mondokan Lolak (around 2,000 m). This is where lunch happens, and it functions like an energy checkpoint. If you’re aiming to reach the crater rim with a decent view and not just survival mode, this is the point where you want your food to land and your breathing to steady.
After lunch, the pace shifts again. You leave Pos 3 and hike up for about two more hours toward the Senaru crater rim (2,641 m). This is the part where a small-group setup pays off, because you are not being pulled along by a crowd. Your guide keeps the ascent controlled, so you can keep moving at your own pace.
Sunset on the crater rim at 2,641 m: camp views and real emotions
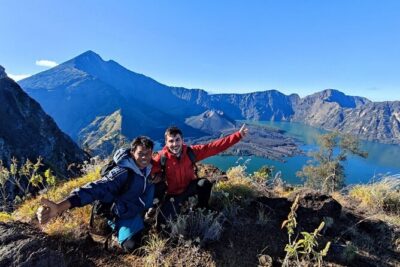
Once you reach the Senaru crater rim, the day turns into a “slow down and look” moment. The plan is to enjoy sunset from the rim, with views that include Mount Agung in Bali and, at times, smoke drifting from new volcanic activity along the lake edge.
That sunset detail is more than a nice postcard. It’s a reminder that Mount Rinjani is not a museum piece. It is a working volcano environment, and the crater-rim position puts you close enough to feel that tension in the air.
Camp is set for the night here. What you likely appreciate is that the package includes more than a sleeping bag. You get tents, sleeping mats (5 cm thick), sleeping bags, a camping chair, toilet tents, and a pillow. Those items sound small on paper, but they change how your evening feels when you’re tired.
If you get cold easily, plan to move gently after dinner and before bed. Higher elevations can make you feel chilly even when daytime hiking felt fine. Bring layers you can adjust, because at night you will want warmth without feeling like you are overheating in your tent.
Also, keep an eye on your camera or phone battery. At sunrise and sunset, you want power for photos, and cold can drain batteries faster than you expect.
Other Lombok days, coast and volcano
- Anggrek Putih Lombok Cooking Class★ 5.0 · 253 reviews
- Day Trip Gili Trawangan, Gili Meno, Gili Air (Depart Lombok)★ 5.0 · 167 reviews
- Lombok Private Customize Tour★ 4.5 · 144 reviews
- 3D-2N Explore Mount Rinjani – Summit -Lake and Hotspring★ 5.0 · 112 reviews
- Lombok Pink Beach Boat Trip (Full Day + Snorkeling)★ 5.0 · 104 reviews
Day 2 sunrise, then descent through rainforest to Senaru village
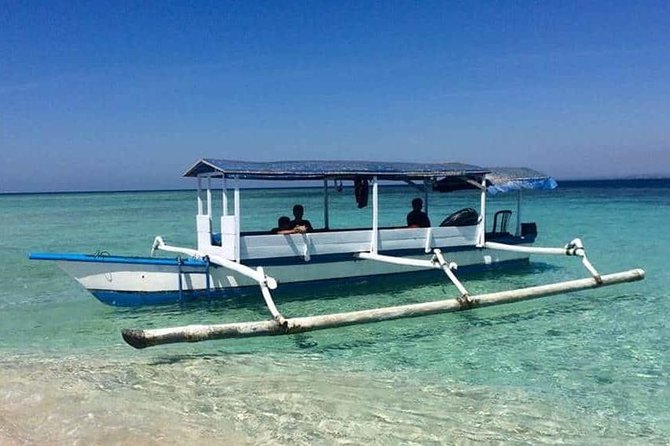
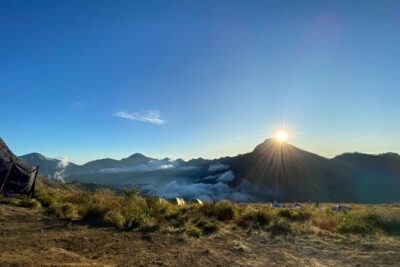
Day 2 starts with a sunrise moment, followed by breakfast with the view. Then you begin the descent back toward Senaru village, using the rainforest trail.
The descent takes about 5 hours. That is not just distance, it is leg work, because downhill can be as taxing on your knees and calves as the uphill is for your lungs. Your guide’s job is to help you manage the pace so you finish without feeling wrecked.
You stop for lunch along the way, then arrive at Senaru village to end the service. The timing is helpful if you want a full day afterward, because you are not stuck doing more overnight travel. It also means you can recover at a village pace rather than facing another night of trekking.
What’s included in $217: why the value feels practical, not just cheap
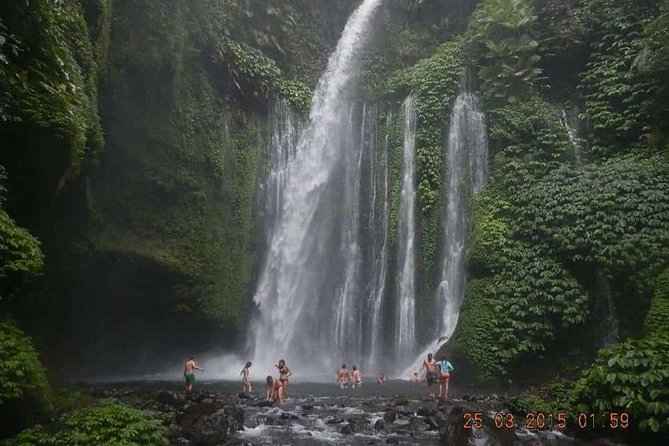
At $217 per person for a 2-day, 1-night mountain trek, you are not just paying for the walk. You’re paying for the support system that makes this style of hike realistic.
Here’s what matters most for your wallet and your sanity:
- Entrance fee to Mount Rinjani National Park is included
- Travel insurance is included
- 3 meals a day plus snacks and fruit are included
- 3 liters of mineral water per day are included
- Drinking support is included during your trek
Then there is the “hidden cost” category: camping gear and the people who make it work. You get tents, sleeping bags, mats, toilet tents, and even a camping chair. Porters and an English-speaking guide are part of the package, meaning you are not hunting for equipment locally or trying to guess what you forgot once you are already on the trail.
Is it a bargain compared to fancy hotels? Sure, because you are trading comfort for altitude views and effort. But for what you get, it feels fair because it covers the big logistical pieces: food, water, gear, entrance fees, and organized staffing.
The one thing not included is tipping for the guide and porter. If you like good service, budget for it. Mountain crews deserve it.
Guides and porters: where the experience gets its character
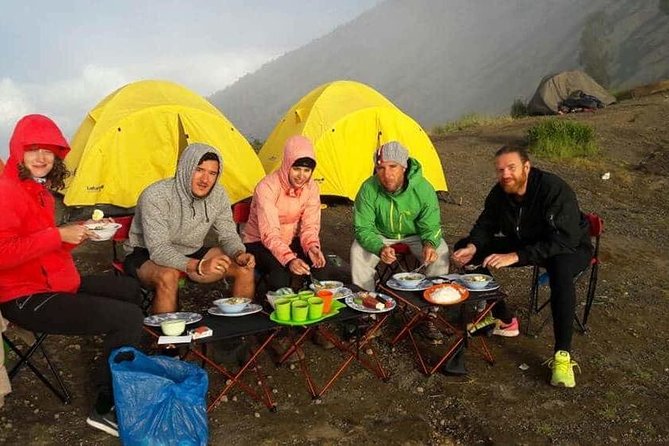
This hike stands or falls on how the team handles you during a long day at elevation. The strongest praise you’ll see around Syam Trekker is consistency, from support on the climb to the quality of food and the cleanliness of camp gear.
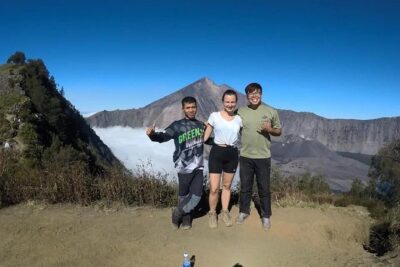
Different hikes have involved guides with names like Rahmin, Amin, Awal, Ari, and Anto. People describe guides as humorous and patient, and in tougher moments, willing to give a hand to keep you moving. That “help on the final push” detail is huge. When your legs start to protest, a little encouragement and smart pacing can be the difference between slowing down and safely finishing.
Porters are also a standout part of the story. They are described as very strong and careful with food and camping gear. That is exactly what you want: you should be able to hike with less weight, eat without worrying about the logistics of cooking, and sleep knowing your gear is handled.
And yes, some guides even turn into photo helpers. If photography matters to you, that can be a bonus worth more than you think when you are trying to frame sunrise and sunset on a moving horizon.
Comfort and fitness: how to prep so Day 2 does not hurt
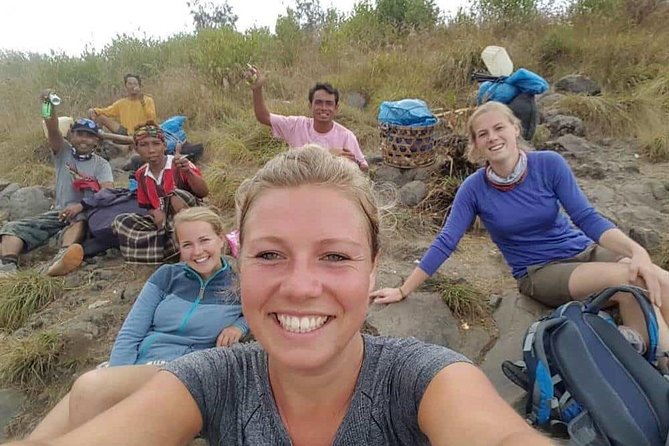
The tour asks for moderate physical fitness. That’s a good match for people who hike regularly, but it is not a stroll. You will be climbing from around 1,500 m up toward 2,641 m and then descending about 5 hours the next day.
So what should you do to get ready?
- Do a few hikes close to home first, even short ones with hills
- Practice walking with a daypack so your body is used to the feel
- Plan your pace, not your ego, because the group is small but the terrain does not care
For comfort, pay attention to clothing. You will want layers you can adjust between forest shade and higher open-air rim time. You also want shoes with good grip, because you are walking on a real mountain trail, not a paved path.
Also, since camping gear is included, you do not need to bring a full camp kit. Still, you should bring personal items you rely on daily, and plan for personal expenses that are not included.
Weather reality: why the best part depends on conditions
This is a volcano area, and the hike needs good weather. If conditions are poor, the experience can be canceled, with options to choose another date or receive a full refund.
Even when the weather is fine, visibility can change quickly at elevation. That’s why sunrise and sunset are treated like part of the plan instead of an optional activity. With an overnight camp, you at least get your best shot at light and views when conditions cooperate.
If you are flexible with dates, you improve your odds of seeing the rim properly lit.
Who should book this Rinjani crater rim hike
This trek is a strong fit if you:
- Want a 2-day Rinjani experience without committing to a longer multi-day program
- Like the idea of camping with included gear rather than carrying everything yourself
- Prefer a small group where you can hike at your own speed
- Are excited about sunset and sunrise from the rim more than extra days of trekking
It may not be the best choice if you want a low-effort outing or you have knee issues that make long descents uncomfortable. The second day is not short, and downhill work can be tough.
For families or anyone unsure about altitude stamina, I would treat the “moderate physical fitness” label as a real warning sign. Do it only if you can handle sustained uphill and then a long walk down.
Should you book with Syam Trekker for the Senaru 2D1N crater rim hike?
If you want the Rinjani highlight, a real overnight on the rim, and a setup that takes care of food, water, entry fees, and camp gear, this is an easy yes to consider.
I’d book it if you value a smooth, well-supported team, and you like the idea of being looked after by an English-speaking guide plus professional porters. Based on the praise around clean tents and sleeping bags, tasty nutritious meals, and guides who are both patient and encouraging, this is the kind of operation that helps you focus on the hike instead of fixing problems.
If you hate long days on your feet, or you are not ready for a 5-hour descent, pick a different format. But if you can handle moderate fitness and you are chasing crater-rim sunrise, this is one of the most practical ways to do it in just two days.
FAQ
How long is the Rinjani hike from Senaru to the crater rim?
The hike runs for about 2 days.
What is the meeting point and start time for the tour?
You meet at Syam Trekker in Senaru. The start time is listed as 7:00 am, and the hike typically begins around 08:00 from the Rinjani Trek Center Senaru area.
How many people are on the hike?
The group is limited to a maximum of 6 travelers.
What altitude do you reach on Day 1?
You hike up to Senaru crater rim at 2,641 m.
Do you camp overnight?
Yes. You camp for the night at the crater rim after sunset.
What meals and water are included?
You get 3 meals a day plus snacks and fruit. You also receive 3 liters of mineral water per day, plus drinks during the trek.
What camping gear is included?
Included gear covers tents, sleeping mats (5 cm thick), sleeping bags, a camping chair, toilet tents, and a pillow.
Is entrance to Mount Rinjani National Park included?
Yes, the entrance fee to Mount Rinjani National Park is included, along with travel insurance.
What happens if weather is bad?
The experience requires good weather. If canceled due to poor weather, you will be offered a different date or a full refund.
Lombok, Coast and Volcano
Walking Routes Worth the Early Start
Fresh Lombok write-ups from the review desk

Lombok and Mount Rinjani Adventures, compared.
 ★ 5.0Gili Island Snorkeling Trip – Gili Trawangan, Gili Meno, & Gili Air, From LombokFrom $88330 reviews
 ★ 5.0Anggrek Putih Lombok Cooking ClassFrom $30253 reviews
 ★ 5.0Day Trip Gili Trawangan, Gili Meno, Gili Air (Depart Lombok)From $97167 reviews
 ★ 4.5Lombok Private Customize TourFrom $45144 reviews
 ★ 5.03D-2N Explore Mount Rinjani – Summit -Lake and HotspringFrom $235112 reviews
 ★ 5.0Lombok Pink Beach Boat Trip (Full Day + Snorkeling)From $88104 reviews
 ★ 5.0Rinjani trekking 2D 1N RIMFrom $20594 reviews
 ★ 5.03D/2N Rinjani trekking summit,lake and hot springs.From $25085 reviews
Browse the lists this tour appears in